Whiteboard animation explainer video guide

A whiteboard explainer works best when the viewer needs to understand how an idea develops, not merely see a list of finished slides. A line appears, a label gives it meaning, and the next visual extends the thought. That sequence is the real technique. The white background and drawing hand are only its most recognizable visual language.
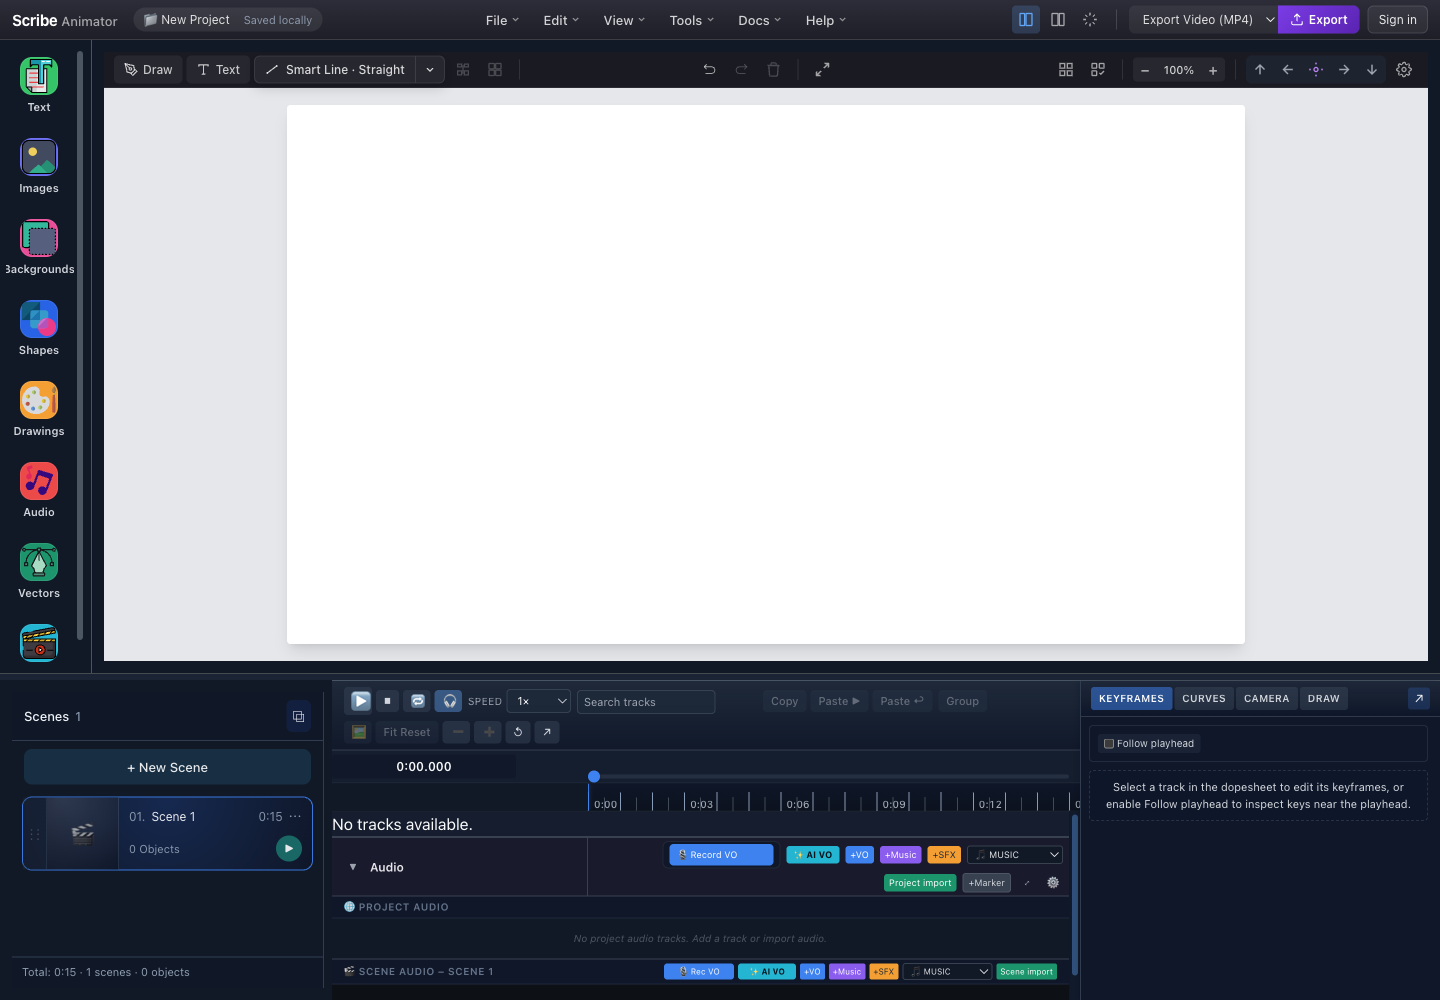
Scribe Animator is built for this kind of construction. A project is divided into scenes; each scene contains editable objects, timing, camera state, and optional audio relationships. Vector artwork can reveal through authored Draw Steps, while text, images, connectors, and ordinary object animation can carry the parts of the story that should not look hand-drawn.
Why this format earns its place
Whiteboard animation has several practical strengths:
- Progressive disclosure controls attention. The audience sees the current idea before the next one arrives.
- Abstract processes become spatial. A workflow can be drawn left to right; a hierarchy can grow from one root; a comparison can occupy two stable sides of the canvas.
- Revision remains manageable. In Scribe, scenes and objects stay editable rather than becoming one flattened recording.
- Narration and visuals can share a rhythm. Audio tracks, markers, object timing, and Draw Steps provide separate but coordinated timing surfaces.
- A consistent visual system travels well. The same background, hand/tool choice, typography, and color accents can be reused across a course or product series.
The format is not automatically the right answer. Use live footage when human presence, physical evidence, or an emotional performance is central. Use a screen recording when the exact software interaction is the lesson. Whiteboard animation is strongest when explanation and visual construction are the point.
How a Scribe explainer is made
1. Reduce the message to one outcome
Write one sentence that describes what the viewer should understand or do after watching. “Understand our platform” is too broad. “Know how to submit an expense and track its approval” is useful because it implies a start, a sequence, and an end state.
That sentence also protects the edit. If an attractive visual does not help deliver the outcome, it probably does not belong in the first version.
2. Turn the outcome into scene-sized beats
Create a scene when the narration topic, visual environment, framing strategy, or set of active objects changes. Useful scene names describe purpose: Problem, Three steps, Result, and Next action are easier to manage than Scene 1 through Scene 4.
Scribe plays scenes in order on one global timeline. Changing an earlier scene's duration moves the global start time of every later scene, so settle the rough narration before polishing transitions. The scenes and templates guide explains that timing model in detail.
3. Write narration and visual direction together
Use two columns. Put the spoken line on the left and what changes on screen on the right. The visual column should not transcribe every noun. If the voice says, “The request moves from the employee to the manager and then to finance,” the canvas might show three labeled nodes and a connector progressing between them.
Read the script aloud. Natural pauses often identify good draw-step boundaries and reveal where a scene needs more reading time.
4. Choose the right object for each job
Keep text editable while wording and typography are changing. Import a clean SVG for icons, diagrams, and line art. Use an ordinary image for a photograph; tracing a photo into hundreds of paths rarely improves an explanation.
For lettering that should be visibly drawn, finish the text first and then convert it to outlines. That trade changes editable glyphs into vector geometry, so keep a backup before conversion. See text and typography and SVG and vector import before preparing a large asset set.
5. Author drawing as story order
Choosing a Draw In preset does not create a complete draw plan. In Scribe, Draw Steps own the meaningful reveal order, start, duration, target, and optional hand/tool override. Auto-plan is a starting proposal based on geometry—not an understanding of narrative importance.
Review which stroke appears first. A process arrow should not finish before the two ideas it connects. A decorative border should not consume the opening seconds while the core diagram waits. The drawing hands and Draw Steps guide covers layer-order, longest-first, and round-robin planning strategies.
6. Add audio and camera with restraint
Create narration on the correct scope: project audio can continue across scenes, while scene audio belongs to one scene's local range. Recording or importing audio does not automatically bind an object to a script segment. Binding is an explicit relationship.
Use camera movement only when the canvas genuinely contains more detail than one frame can communicate. A stable wide view is often clearer than frequent pans. If a close-up is necessary, leave enough surrounding context for the viewer to know where it sits in the larger explanation.
7. Preview, save, and export
Preview the complete project—not only each scene in isolation. Check transitions, object entrances, draw order, camera framing, and audio at every scene boundary. Save an editable .scribe package separately from the finished video.
For a typical viewing file, Scribe's video export renders the authored scenes, drawing, camera, and mixed audio. A static SVG preserves a scalable still from the current scene but cannot contain timing or sound. Use Choose and verify an export to pick the right output.
Where whiteboard explainers fit
These are hypothetical Scribe scenarios, not customer claims:
- A software team explains a three-stage approval flow with labeled nodes, smart arrows, and a short narrated scene for each role.
- A teacher builds a math concept one relationship at a time, using editable equations and a camera close-up only for the dense final step.
- An operations lead turns a safety checklist into one scene per decision, then reuses the project structure for another location.
- A nonprofit maps how a donation reaches a program, using one accent color for funds and another for outcomes.
- A product trainer combines drawn principles with short screen-recording steps captured directly in Scribe where supported, or imports existing footage when exact button clicks matter.
In each case, success means the viewer can follow the intended sequence and act on it. Visual novelty is secondary.
A practical quality checklist
Before calling the explainer finished, ask:
- Can someone state the main point after one viewing?
- Does every scene have one clear job?
- Are text labels readable before the scene advances?
- Does the draw order follow the logic of the narration?
- Are decorative objects quieter than explanatory objects?
- Does narration remain clear over music and effects?
- Are camera moves motivated rather than constant?
- Has the exported file been watched from beginning to end?
- Is an editable
.scribebackup stored separately?
Start small if this is your first project: one title, one diagram, two or three scenes, and a short voiceover. The first-animation tutorial teaches the complete create–preview–save–export loop without hiding the editor concepts you will need later.