Storyboard a whiteboard animation before you animate

A storyboard is the first honest test of an animation idea. A sentence may sound clear in a script, yet still be difficult to show. A drawing may look attractive on its own, yet add nothing to the explanation. Storyboarding exposes those problems while they are still inexpensive to fix.
For a Scribe Animator project, the storyboard should do more than sketch a sequence of pictures. It should describe the relationship between narration, scenes, objects, draw order, camera framing, and time. That makes it a working production map rather than a decorative approval document.
Start with beats, not illustrations
Read the script aloud and mark every point at which the audience must understand something new. Each mark is a beat. A beat may introduce a problem, show a process, compare two choices, or land a conclusion.
Do not create a new scene for every sentence. Create one when the visual idea, setting, or purpose changes. A useful storyboard row records:
| Field | Question to answer |
|---|---|
| Beat | What changes in the audience's understanding? |
| Narration | What is heard during this beat? |
| Visual | What should be visible, added, or removed? |
| Motion | Is the object drawn, moved, faded, typed, or left still? |
| Camera | Does the whole composition fit, or is a closer view necessary? |
| Duration | How long does speech, drawing, and reading actually need? |
This structure prevents a common failure: designing a busy frame first and then trying to force the narration around it.
Map the board to Scribe scenes
In Scribe Animator, scenes are ordered story units with their own duration, objects, background, camera behavior, draw plan, and scene-scoped audio. Earlier scene durations also determine the global start time of every later scene. Reordering a scene therefore changes more than a thumbnail—it changes where that scene occurs in project time.
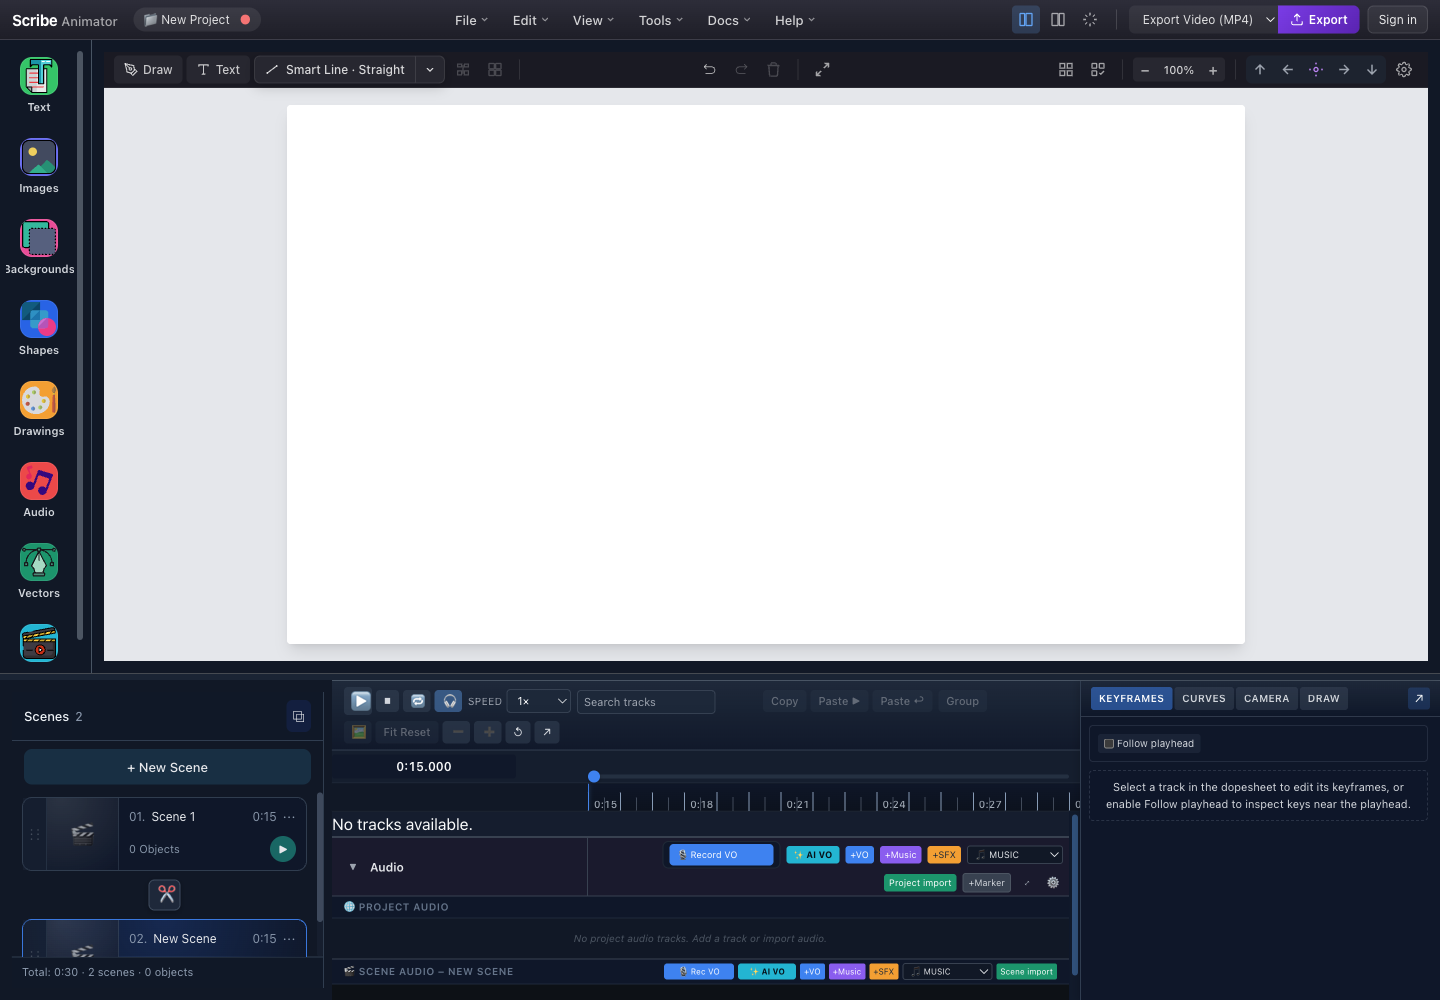
Use one storyboard card per intended scene, then annotate any smaller changes inside that scene as object actions. This keeps the project readable:
- scene cards describe narrative structure;
- canvas objects describe the visual composition;
- the Draw plan describes reveal order;
- the timeline describes exact timing; and
- camera actions describe framing.
The Scenes and templates guide explains how scene duration, duplication, order, and transitions behave in the editor.
A step-by-step Scribe storyboard method
1. Reduce the script to one promise
Write the single thing the viewer should know or do at the end. Keep it above the storyboard. When a proposed scene does not support that promise, cut it or move it to another video.
2. Break the narration into spoken beats
Read at a natural pace. Mark pauses, emphasis, and transitions. Avoid estimating timing from word count alone; names, numbers, and unfamiliar terms take longer to hear and understand.
3. Choose a visual job for each beat
Give each frame a job such as:
- establish the situation;
- reveal a cause;
- show a sequence;
- contrast two options;
- label a component;
- summarize a decision; or
- present the next action.
“Add an icon” is not a visual job. “Show that three disconnected tasks become one workflow” is.
4. Decide what persists
Whiteboard animation becomes easier to follow when some context remains visible. Mark objects as enter, stay, change, or leave. In Scribe, this decision affects whether you keep objects in one scene, duplicate a scene to preserve layout, or begin with a clean scene.
Duplicating a scene is useful when the next beat keeps most of the composition. Scribe creates new object IDs for the copy, so you can edit it without making the original scene share those object identities.
5. Plan reveal order
Number drawable elements in the order the audience should notice them. The first visual revealed is not automatically the first item mentioned; sometimes a simple context shape should exist before the key object is drawn.
Use a rough duration beside each reveal. Complex imported vectors can contain many paths, so “draw this logo in two seconds” may be unrealistic. The drawing and hand animation guide explains eligible artwork, planning strategies, draw steps, and precomputation.
6. Mark camera intent sparingly
Add a camera note only when framing changes the explanation. Use:
- a fixed view for one stable composition;
- a Track move for an exact pan or zoom;
- Object Camera for one timed shot around an eligible object;
- Draw-step Camera for a shot owned by a particular drawing step;
- Follow Hand for continuous drawing-hand coverage; or
- Follow Object for a continuously moving subject.
A storyboard arrow labelled “zoom” is not enough. Record the target, approximate start, and reason for the move. The camera and path guide covers how those camera sources interact.
7. Add timing and reading room
Write three durations for each scene: narration, visual action, and hold. The scene must accommodate the controlling duration, not merely the spoken line. A label that finishes appearing on the final syllable still needs time to be read.
8. Review the board without animation
Show the storyboard panels in order and read the narration aloud. If the idea cannot be followed as still frames, extra motion will not repair it. Simplify the visual logic first.
Worked Scribe scenario: explaining a support handoff
This is a hypothetical production exercise, not a customer case study.
| Scene | Narration purpose | Boarded visual | Scribe plan |
|---|---|---|---|
| 1 | Establish the problem | Three request cards scattered around one person | Draw cards one by one; fixed camera |
| 2 | Show the handoff | Cards move into one shared queue | Duplicate Scene 1, add position keys, use a short Track camera move |
| 3 | Explain prioritization | Queue sorts into urgent and routine columns | Keep the queue, add two labels and arrows |
| 4 | Land the result | One resolved request receives a check mark | Close framing, draw the check last, then hold for reading |
The storyboard makes several production decisions early. Scene 2 should be a duplicate rather than a rebuild. Its movement needs property keyframes rather than a drawing reveal. Scene 4 benefits from a close view, but the other scenes do not need constant camera motion.
Tools that are actually useful
You can storyboard on paper, index cards, a slide deck, or a drawing tablet. The tool matters less than the information captured. Use a format that lets you reorder beats quickly and annotate timing.
For higher-fidelity planning, create rough Scribe scenes with basic shapes and text. Keep them deliberately unfinished. Scene duplication, placeholder labels, and simple presets are enough to test order and pace. Save detailed path work, hand choices, easing curves, and final typography until the sequence holds together.
Keep the storyboard cohesive
Use consistent rules across the board:
- one color for persistent context and another for new information;
- one visual metaphor per concept;
- stable object placement unless movement carries meaning;
- repeated labels for repeated ideas;
- transitions only when they signal a real change; and
- matching aspect ratio from the first frame onward.
If the final delivery is vertical, storyboard vertically. Changing canvas size after layout can create clipping and force substantial repositioning.
Know what the board cannot prove
A storyboard cannot confirm draw smoothness, audio decoding, font availability, camera interpolation, or export quality. It also cannot reveal every conflict between overlapping animation sources. Treat it as the structural decision point, then build a short animatic in Scribe and preview it at normal speed.
The most useful storyboard is not the prettiest one. It is the one that lets an animator open Scribe Animator and answer, scene by scene: what appears, why it appears, when it changes, and what the viewer should understand next.